Why you lose control when transitioning from toes to heels: Biomechanics of the turn and video analysis at Kopaonik
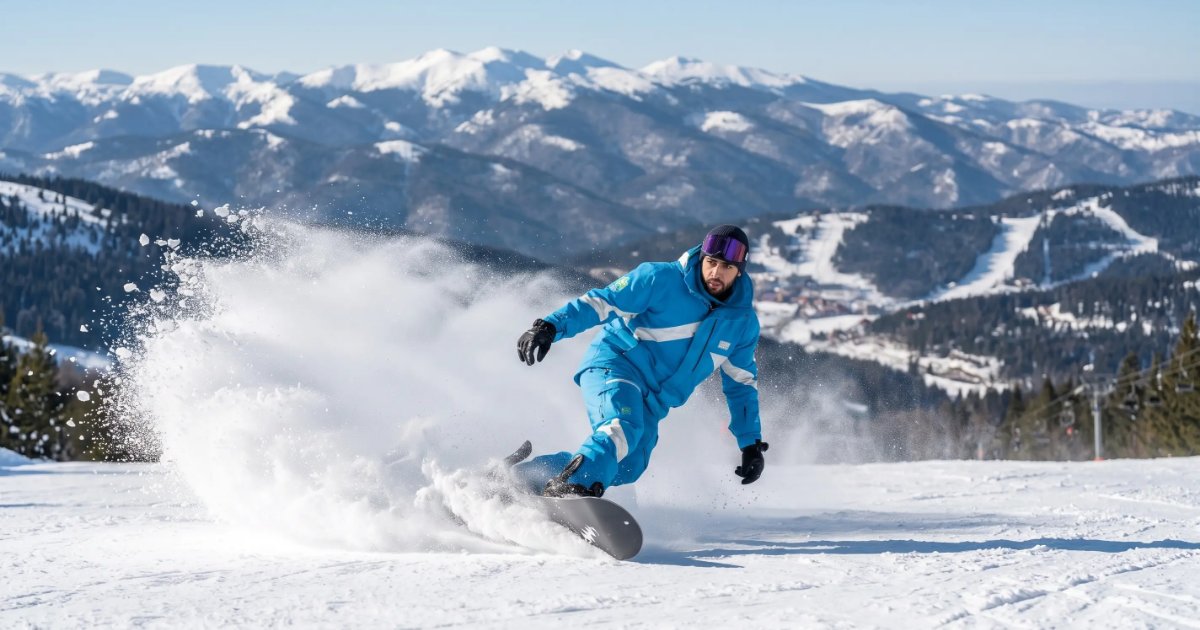
After 4 seasons of training in Dolina Sportova and over 400 trained students, I noticed one and the same moment when as many as 9 out of 10 snowboarders lose control: the exact microsecond of transitioning from the front edge (toes / toeside) to the back edge (heels / heelside).
Whether you're just trying to connect your first turns on the gentle Mašinac slope or you want pure dynamic carving down Karaman Greben, the scenario is always the same: the board momentarily turns sideways, the back edge catches hard snow, and you end up in a painful „catapult fall“ on your back or wrists.
Most riders believe the problem lies in lack of leg strength, fatigue, or bad snow. However, the biomechanics of movement show something quite different: entering the apex of a turn creates a sudden jump in pressure and angular acceleration of over 25%. This jump cannot be solved by muscle force, but exclusively by correct timing of the center of gravity.
1. Why does a sudden jolt and backward fall occur?
When you ride on your toes (frontside), your body is tilted towards the slope and your gaze is naturally directed downhill. You feel in control. However, the moment you need to start transitioning to your heels (backside), an instinctive fear arises: turning your back to the slope and empty space.
Due to this subconscious fear, riders make two key mistakes:
- Retreating to the back foot (so-called Backseat driving): Instead of maintaining a neutral stance, you instinctively lean backward towards the tail of the board. This causes the nose of the board to lose contact with the snow, and you lose all possibility of correcting your direction.
- Forcibly pushing the tail with the back foot: Instead of letting the board pass through the fall line on its own, you try to forcibly „slap“ it to the side with your back foot. The board digs into the snow while your center of gravity is still forward — and a fall is inevitable.
2. Comparative Overview: Rider Misconceptions vs. Biomechanics
Here's what riders think is happening, versus what kinematic analysis actually shows on the slope:
| Technique Element | Common Misconception on the Slope | What Physics and Biomechanics Prove | Solution We Teach in Classes |
|---|---|---|---|
| Turn Initiation | „I make a turn by pushing the tail of the board sideways with my back foot.“ | Pushing with the back foot throws the board off balance and leads to uncontrolled skidding. | The turn is guided by the gaze, front shoulder, and knee. The tail of the board merely faithfully follows the path of the nose. |
| Edge Change Moment | „I can switch to my heels at any point during the descent.“ | Changing edges before the board enters the fall line guarantees catching the opposite edge (catching an edge). | The board must pass through a micro-moment of „flat base“ (zero tilt), pointed straight down the slope. |
| Body Stance (Knees) | „I must resist firmly and tense my muscles.“ | Stiff joints cannot absorb the pressure jump in the apex of the turn (+25% force). | Soft stance („spring stance“) — knees and ankles act as natural shock absorbers. |
| Weight Distribution | „If I'm unsure, it's safer to lean back.“ | Weight on the back foot completely neutralizes control and the effective edge of the board. | The center of gravity remains in the center (50:50) or slightly towards the front foot (55:45) when entering the turn. |
| Error Correction | „I will learn on my own through repetition and falls.“ | By repeating a bad movement, you only strengthen incorrect muscle memory. | On-site HD video analysis at 120 fps — you see the exact hundredth of a second when your center of gravity shifts. |
3. Our 3-Phase Protocol: How We Teach a Clean Turn on Kopaonik
Within my Fall-Free training methodology, we solve this problem on the Karaman Greben and Krst slopes through three clear, interconnected steps:
Phase 1: Predictive Shoulder Rotation and Gaze
Before the board even touches the heel edge, your gaze and front shoulder rotate 15 to 20 degrees in the direction of the new turn. The body must be one step ahead of the board. This subconsciously prepares your central nervous system's muscles for the jump in angular acceleration before it occurs on the snow.
Phase 2: Zero Relief in the Fall Line (Fall-Line Window)
We teach you to recognize the exact tenth of a second when the tip of the board cuts the slope's incline. At that moment, we apply the „vertical relief“ technique — a slight raising of the center of gravity allows the board to transition from toes to a flat gliding base without resistance, and then smoothly settle onto the new heel edge without any catching.
Phase 3: Progressive Flexion and Guiding Through the Arc
Only when the back edge has stably gripped the snow do we lower the center of gravity by bending at the knees and hips. Instead of braking with the back foot, the board calmly cuts the snow in a regular semicircle. We control speed by the shape of the turn, not by tiresome scraping of the snow.
„My students don't experience the biggest breakthrough in technique when I tell them ten times what they need to do, but at the moment when, during a tea break in Dolina Sportova, I play them a slow-motion video of their riding at 120 fps. When they see on the screen that their shoulder is half a second behind the board or that they are leaning on their back foot, the problem is solved in the very next run without a single new fall.“
— Trajko Marinković, licensed snowboard instructor (SSS Level 1)
4. Which Training Package to Choose to Solve This Problem?
If you already master basic gliding on your toes and heels, this problem is not solved in days — it's solved in just a few hours of targeted work:
- Intensive 3-hour block (140 €): An ideal format to eliminate the fear of the fall line and connect stable turns without falls in one morning.
- Progressive 4-hour package (185 €): Includes detailed HD video analysis and technique stabilization on steeper parts of Karaman Greben.
- Master 5-hour package (225 €): For riders who want to transition from basic turns to dynamic carving and higher speed.
Reminder: Before paying for lessons, also read our ski pass guide 2026/2027 where I explained in detail how to smartly plan your ticket purchase and not waste money on expensive six-day ski passes during the first days of training.
Frequently Asked Questions (FAQ)
Q: How many lessons do I need to stop falling when changing edges?
A: For riders who can already stop independently, a 3-hour block of individual work with video analysis is sufficient in 95% of cases to permanently master the correct transition without catching an edge.
Q: On which slope on Kopaonik is it best to practice these turns?
A: Karaman Greben (slope 7) and Krst (slope 3) are ideal because they have a wide, uniform profile with a gentle incline, giving you enough space to calmly execute the entire arc of the turn without fear of excessive speed.
Q: Do I need wrist guards?
A: Absolutely. Until you adopt the reflex of soft knees and early rotation, wrist guards (wrist guards) and protective shorts provide psychological security and remove the mental block of fear of falling.
Ready to ride this winter without fear and painful falls?
Don't spend your winter vacation on Kopaonik struggling with the board by force. Through an individual approach and analysis of every detail of your stance, transitioning from toes to heels will become the most beautiful and fluid part of your descent.
Check out the details of our lessons for adult beginners, sign up for the advanced Carving Masterclass or contact us directly via the Contact page to book your sessions in Dolina Sportova in time. See you on the snow!
Master your snowboard skills in Kopaonik
Book an individual lesson tailored to your pace and conquer slopes safely.